STEP 1
Open both side pannels on your case, then get your motherboard with everything on it an insert it into the case on its back;
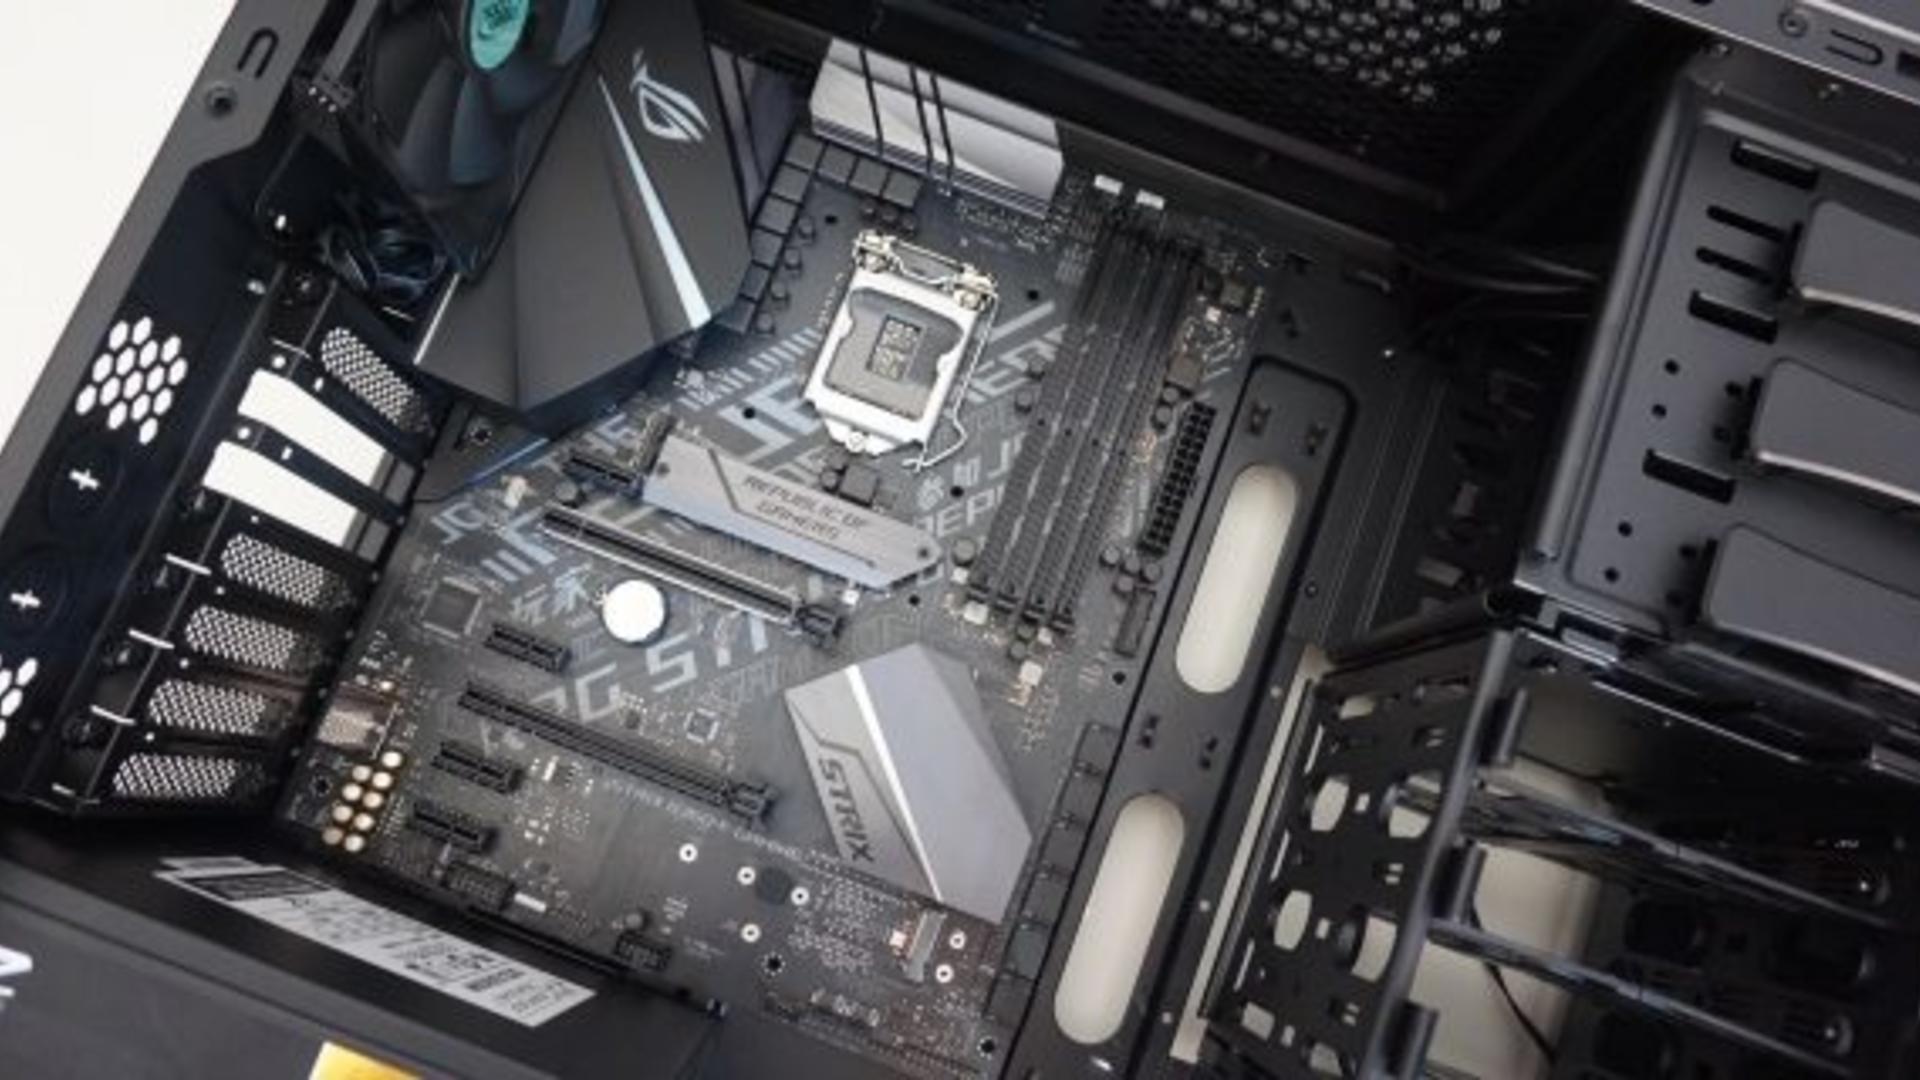
STEP 2
Screw in the motherboard with the screws that came with the case.

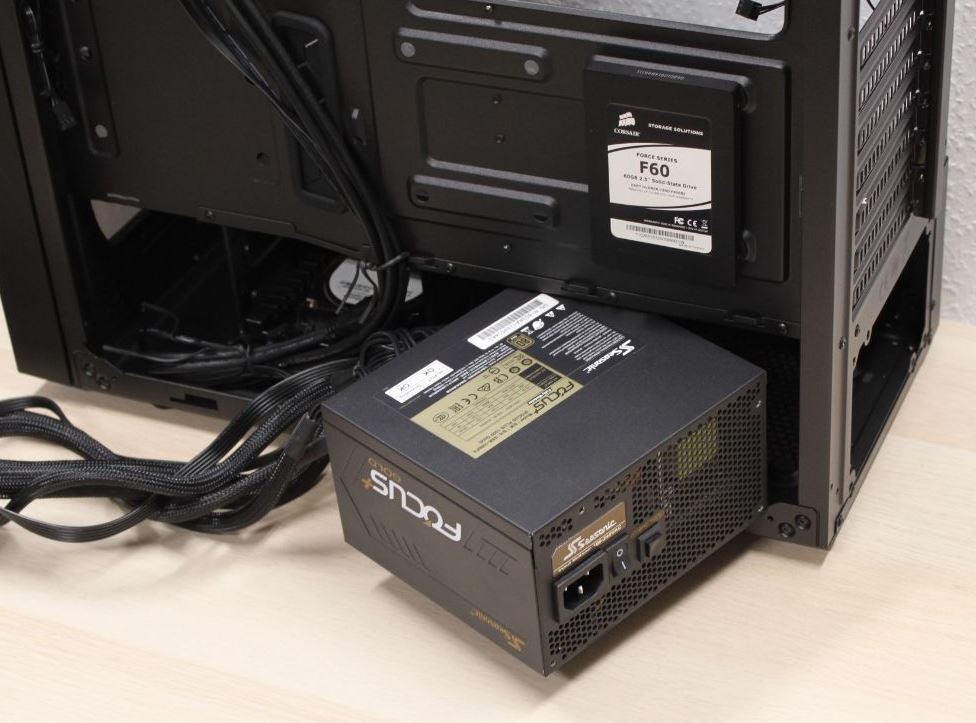
STEP 3
Unpack the power supply from its box and insert it cables first into the case.
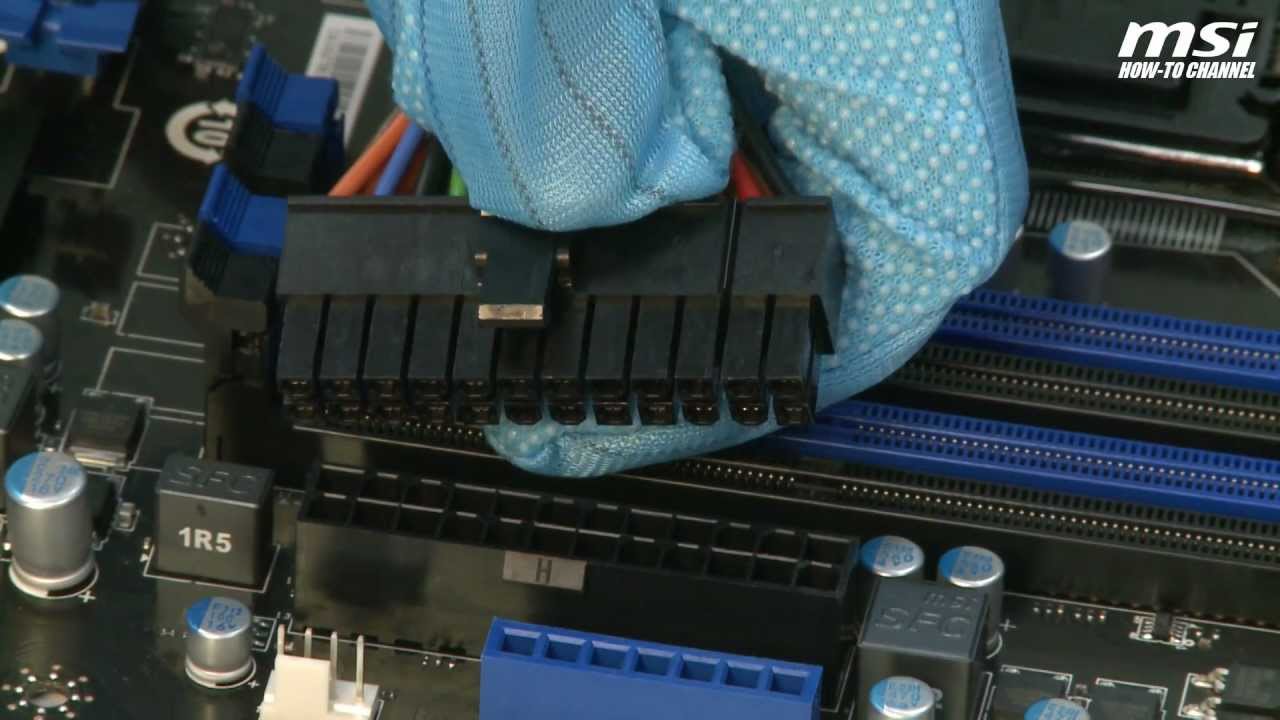
STEP 4
Hook up the cables using the closest routes to their places on the motherboard.
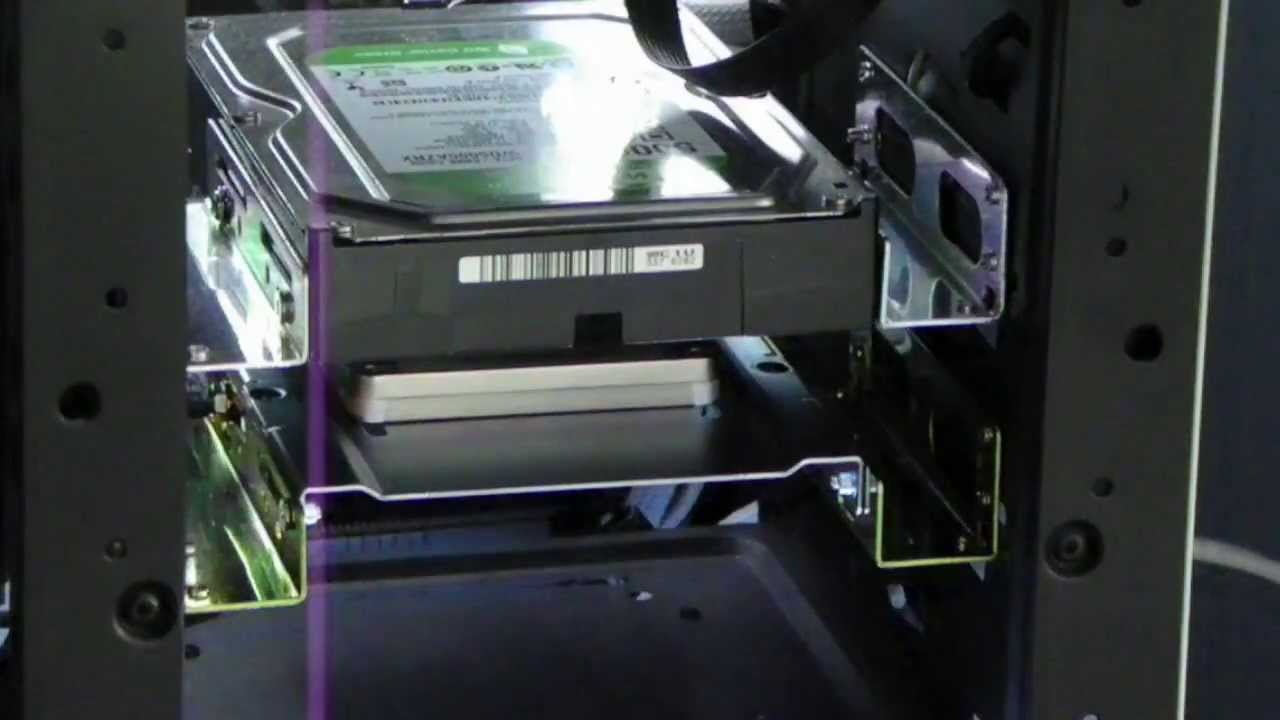
STEP 5
Add Data Storage such as an SSD or Hard Drive to their intended "racks"
STEP 6
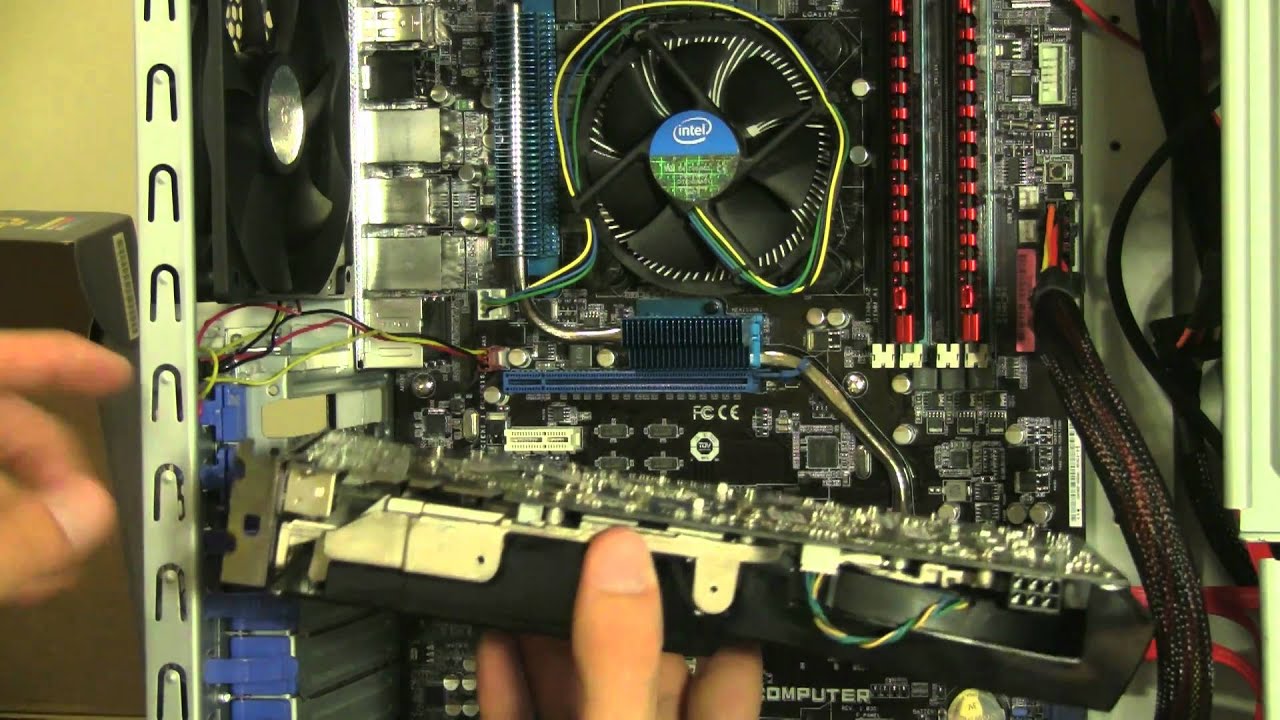
Add the GPU by unscrewing the brackets on the righthand side of the case,
insert it so the pcie 16x slots clasp snaps back into place and attach the power cable.
FINAL STEP
Close both side pannels and pull off the plastic wrap on the front side. and your build is complete!
List Of Other More in-Depth Videos on the subject.